Budget-Friendly Homelab: Building Your Lab on a Shoestring
Building a homelab doesn’t have to feel like climbing Mount Everest, even though the world of IT networking might seem towering at a glance. Sometimes, when I first dipped my toes into this expansive ocean of technologies, I can’t help but remember the whirlwind of decisions and excitement. You don’t need a treasure chest of gold to set up a space where creativity and learning thrive. What matters is the direction you take and the smart choices you make—this is how I manage to create a suitable environment on a budget.
1. Define Your Goals
Taking a moment to understand *why* you want a homelab is often overlooked but incredibly vital. When I took a step back and thought about my intentions, it became clear that having clear objectives not only saved me from unnecessary spending but also gave my projects a sense of purpose.
- Identify Objectives: What do you want to explore? **Running virtual machines for testing?** Perhaps experimenting with Docker? Or is it about hosting your own personal website? For me, setting out clear goals prevented me from wandering into avenues that were irrelevant or unnecessary.
- Start Small: Taming your ambitions to a couple of manageable projects can be liberating. I started with just one virtual machine, and it blossomed beautifully from there. You can always expand later as you gain experience and confidence.
This clarity you gain is the compass that guides your spending and helps you avoid rushing into unnecessary costs.
2. Affordable Hardware Options
When I first looked at hardware, my heart sank at the sight of price tags that looked like my college tuition. But here’s the good news: **top-notch equipment doesn’t have to come at a premium**. Understanding the alternative options made my journey rewarding and occasionally exhilarating.
- Raspberry Pi: This little marvel packed a punch! It’s a fantastic starting point, relatively affordable, and won’t blow your budget. I run numerous self-hosted applications on mine, from Pi-hole to Nextcloud, with delight.
- Mini PCs: I can’t express how compact yet powerful these devices are. Models like Intel NUC or even second-hand ThinkCentres serve perfectly for more demanding tasks without commanding an exorbitant price.
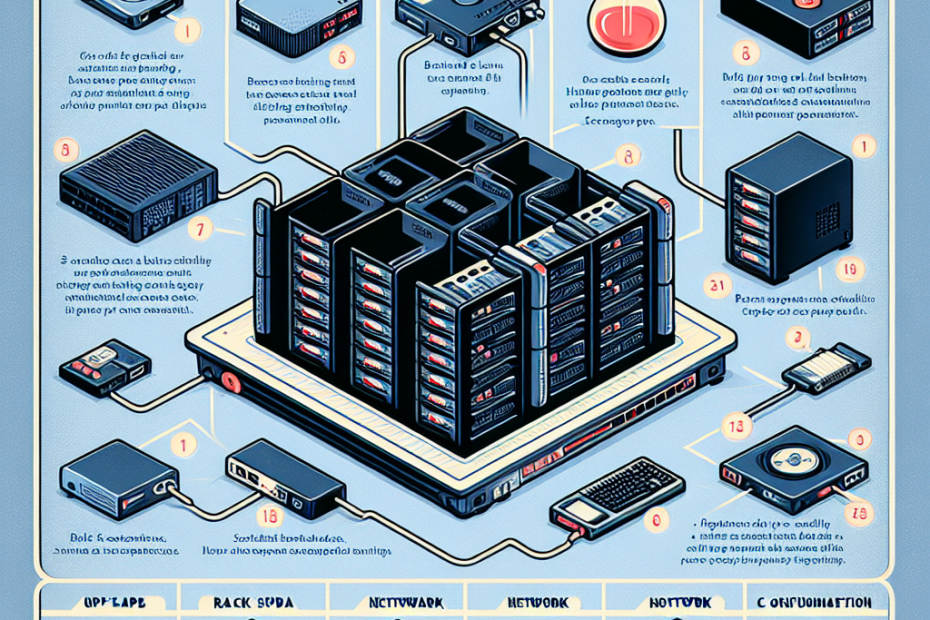
- Used Server Gear: There’s zero shame in digging through resale sites. Older servers like the Dell PowerEdge or HP Proliant offer great power for their price. Just remember to consider noise levels and energy consumption, as decent servers can be chatty roommates.
By starting with these budget-friendly pieces of hardware, I found not just affordable experiments, but a playground to learn.
3. Networking Essentials
Don’t overlook the importance of networking! Oh, how many times did I ignore this only to realize it’s the lifeblood of my homelab! A *solid network architecture* amplifies your homelab’s performance, especially if multiple devices come into play.
- Router and Switch: Venturing into the network realm means getting at least a basic router with VLAN support. If you’re feeling a bit adventurous, investing in a managed switch can be a game-changer. It makes connecting various devices a breeze.
- Ethernet: **No matter how alluring Wi-Fi appears**, nothing beats the stability and speed of an Ethernet connection. My experience confirmed this time and again with apps that run heavier—Ethernet is the knight in shining armor!
Once I focused on proper networking gear, the overall performance of my lab zoomed to exhilarating new heights.
4. Essential Software
Here comes the beauty part! With hardware down, the right choice of software can elevate your homelab experience even further. I was thrilled to discover that **powerful tools don’t always carry hefty price tags**.
- Proxmox or VirtualBox: Both of these platforms opened a world of virtualization for me! They let you run multiple VMs or even containers on a single machine, unleashing possibilities that matched my creativity.
- Free OS Choices: Diving into the fantastic world of Linux, I found that distribution options like Ubuntu Server or Debian were gems. They provide not just flexibility, but also a robust environment without the costs that often accompany proprietary systems. I highly encourage exploring these options here.
The right software can transform your machine into a robust environment, marrying functionality with affordability.
5. Scale Gradually
As my skills and confidence grew, so did my homelab. But here’s the wisdom I embraced: there’s no need to rush into everything at once. Gradual scaling has become my secret sauce for success.
- Try new applications without overwhelming yourself. Experimentation becomes enjoyable when the scale of change isn’t daunting!
- Adding hardware piece by piece not only optimizes my spending but also transforms the lab into an organic, learning-friendly ecosystem.
With patience and a strategic mindset, I found myself evolving with every small step, rather than facing the potential chaos of attempting to revamp everything overnight.
Final Thoughts
In my humble journey, I have learned that creating a budget-friendly homelab isn’t merely an exercise in technical skills; it’s a nurturing space for curiosity, creativity, and growth. Thoughtful planning matters, but so does enjoying the ride.
Each moment spent tinkering and exploring adds value, not just in the results you see, but in the wisdom you gather along the way. Please feel free to share your thoughts, experiences, or any questions you may have in the comments below. Your insights could light the way for fellow enthusiasts! Happy homelabbing!


